


Gua sha is more than a beauty trend. It is a mindful ritual that can elevate your skincare routine. This facial massage technique, rooted in tradition, uses a smooth, polished stone to gently glide across the skin. The result is a complexion that looks more sculpted, less puffy, and feels deeply relaxed.
Mastering this practice is simple with the right guidance. This guide will walk you through each step, from preparing your skin to the final, glowing result. Learn how to choose the right products and use your tool like a professional.
Before You Begin: An Esthetician's Prep for Gua Sha Success
Proper preparation is the key to a successful gua sha massage. It ensures the tool glides smoothly and your skin gets the full benefits of the practice. Skipping these steps can lead to friction or discomfort.
So, what is the best time for gua sha? It depends on your goals.
- Morning: A morning session is excellent for reducing the appearance of puffiness. It helps awaken the skin, leaving you looking refreshed and ready for the day.
- Evening: An evening ritual can be a calming experience. It helps release facial tension from the day and supports the absorption of your nighttime skincare products.
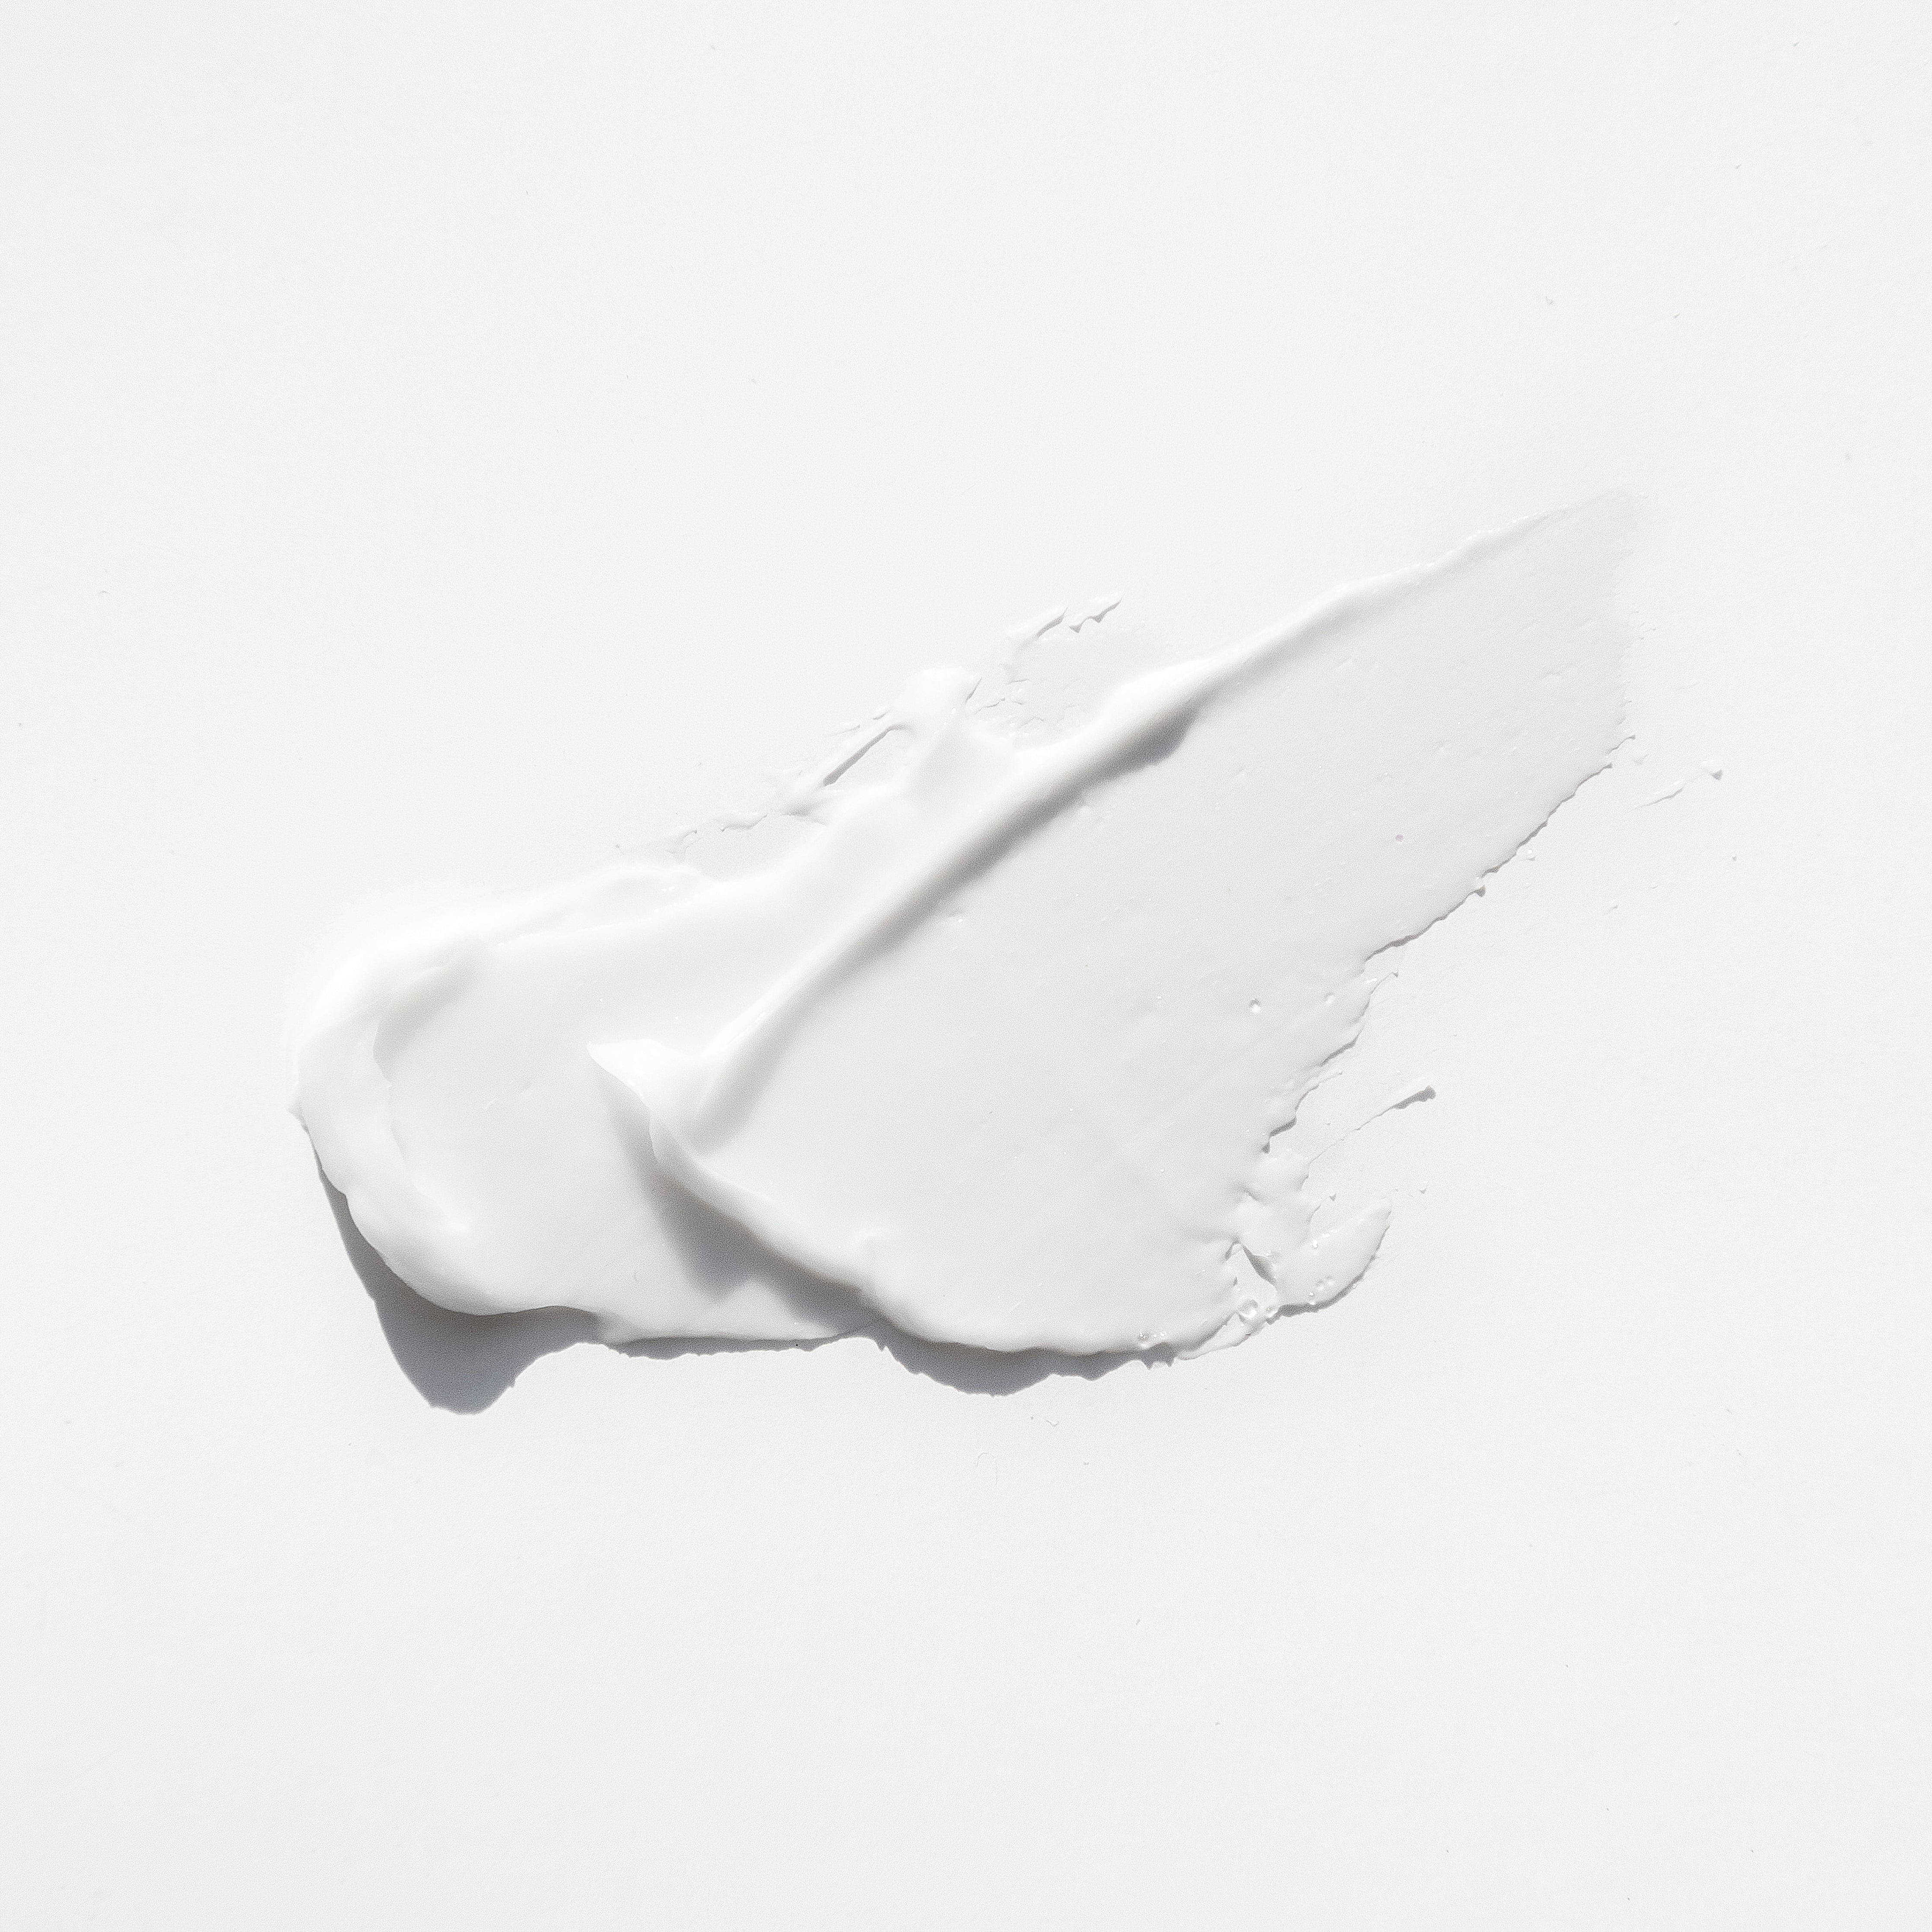
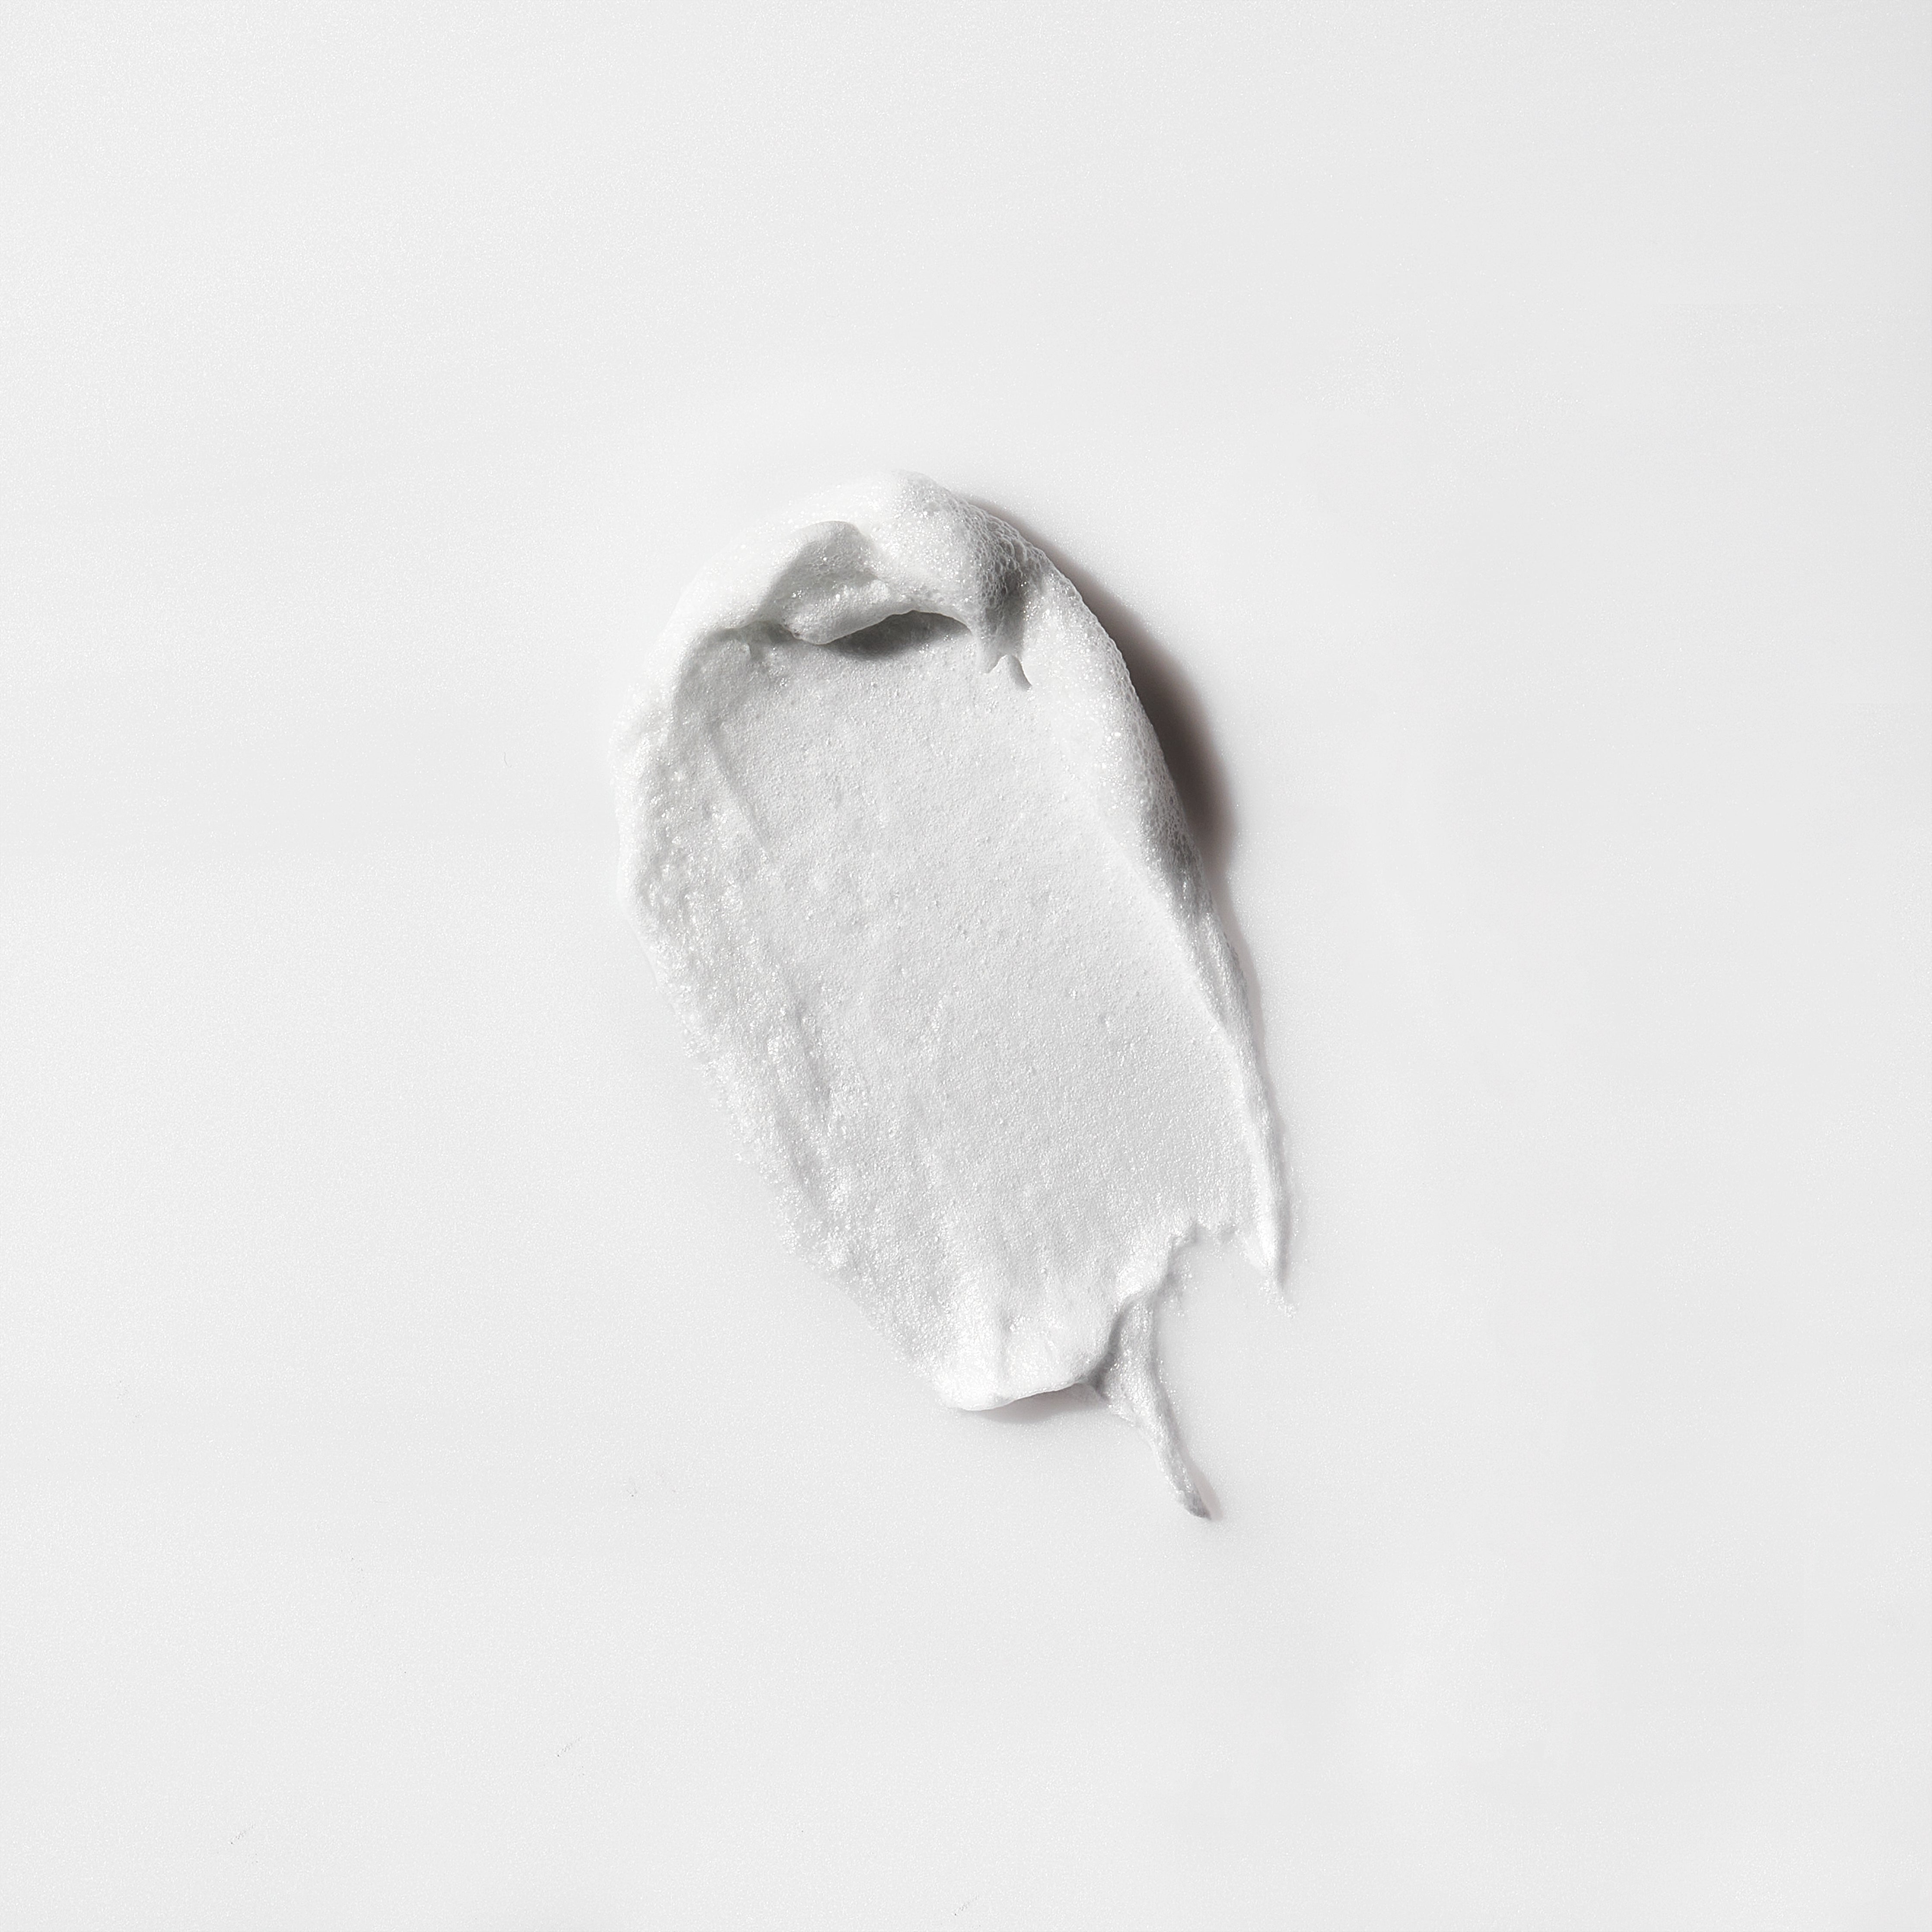
Always start with a clean face and a clean tool. This creates a pure foundation for your massage. We recommend prepping your canvas with a gentle cleanser that respects your skin’s delicate balance.
The Biome Balancing Creamy Cleanser is a perfect choice. This soap-free, pH-balanced formula lifts away impurities without stripping the skin of its essential moisture. It leaves your skin feeling soft, comfortable, and perfectly prepped.

Its gentle power comes from key ingredients like:
- Lactobacillus Ferment Lysate: This is a postbiotic ingredient. It helps support a balanced skin environment, leaving your skin feeling calm and comfortable.
- Avena Sativa (Oat) Kernel Flour: Also known as colloidal oatmeal, this fine-milled powder is known for its soothing properties. It helps comfort the skin during cleansing.
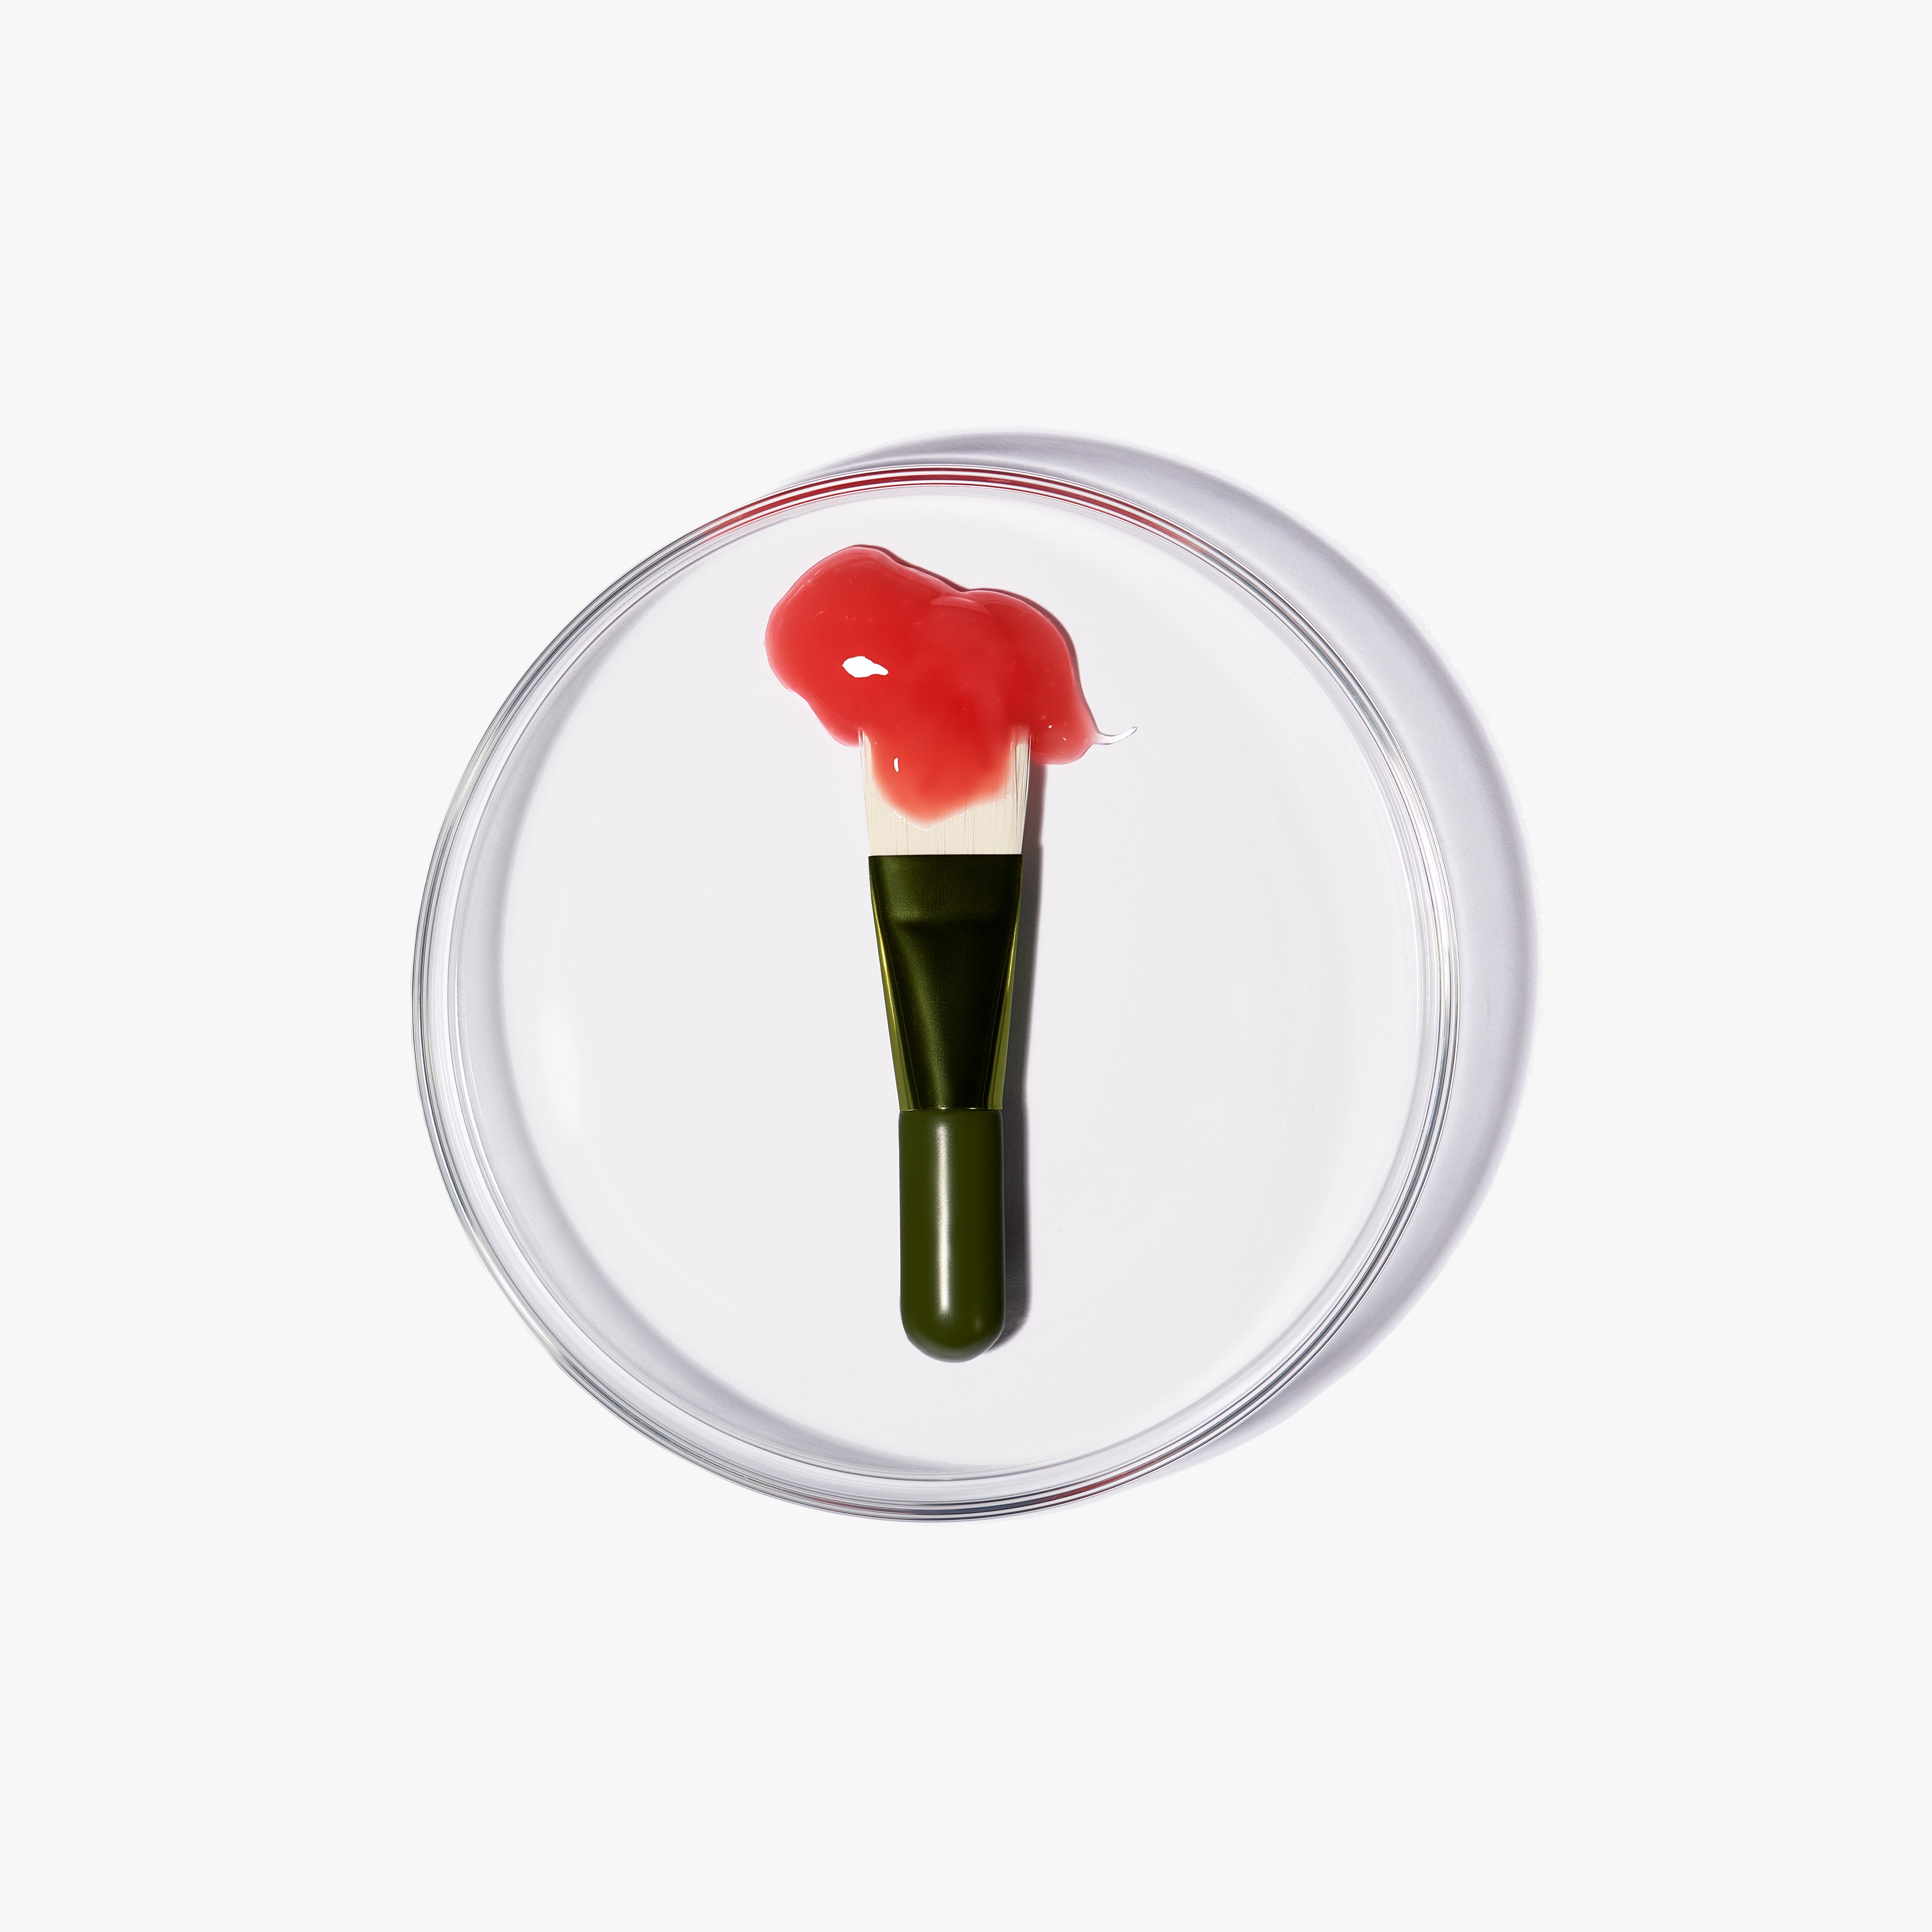
Lastly, consider your gua sha tool. Different shapes are designed for different parts of the face. A tool with multiple curves can be versatile for the jawline, cheeks, and under-eye area.
The Golden Rule: Selecting the Perfect Face Oil for Glide and Glow
Do you need to use oil on your face before gua sha? The answer is always yes. This is the most important rule for a safe and effective practice.
An oil creates "slip" on the skin's surface. This allows the gua sha tool to glide effortlessly without pulling or tugging. Without enough slip, you risk causing friction and surface redness. An oil acts as a protective cushion between the tool and your skin.
Using a face oil is non-negotiable for gua sha. It provides the necessary slip to prevent friction and allows the tool to move smoothly across the skin.
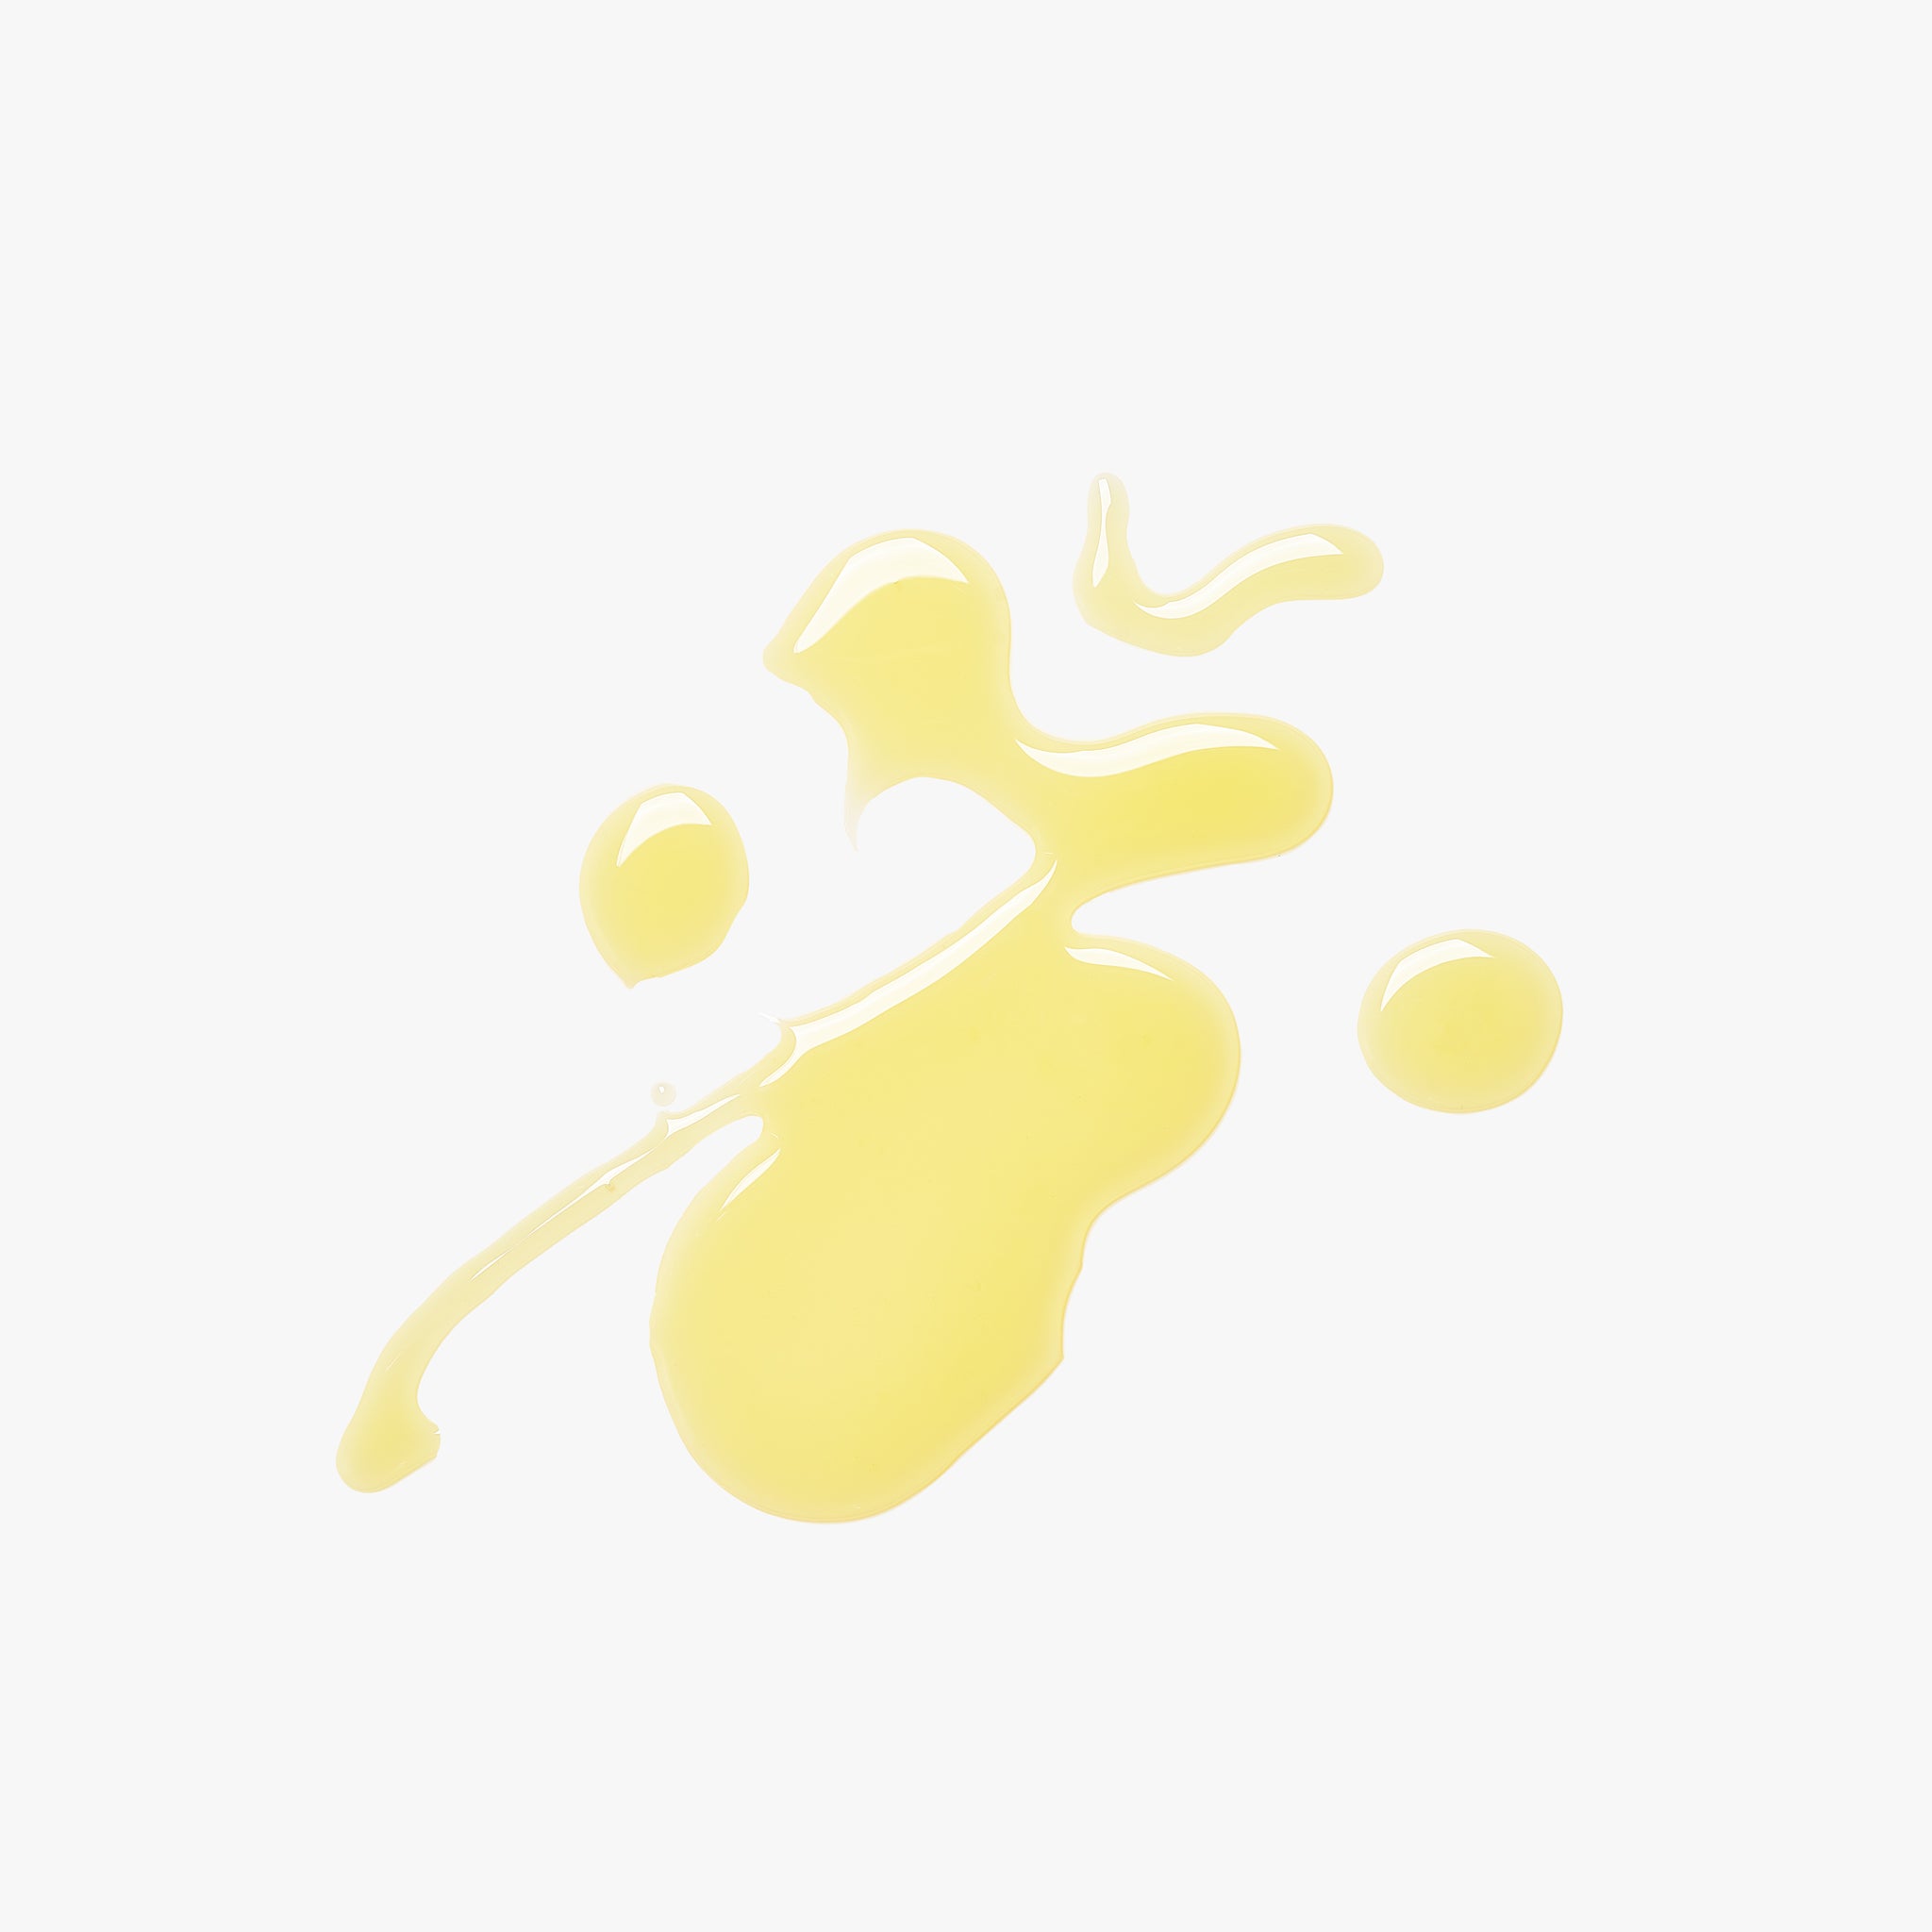
Beyond providing slip, a high-quality face oil delivers nourishing ingredients to the skin. The gentle massage action of gua sha can help you get the most out of your chosen product. These oils deliver potent botanicals, harnessing the power of ingredients like antioxidant-rich Kakadu Plum, to support your skin’s appearance.
Nuebiome offers two exceptional botanical formulas ideal for your ritual. Choose the one that best suits your skin's needs.
For skin that feels sensitive, combination, or oily, the Skin Soothing Face Oil is an ideal partner. This lightweight, calming emulsion provides hydration while leaving the skin feeling balanced and comfortable.

Two hero ingredients make it special:
- Calophyllum Inophyllum (Tamanu) Oil: A rich, nourishing oil cold-pressed from the nuts of the Tamanu tree. It is known for its deeply moisturizing and soothing properties.
- Squalane: A lightweight hydrator derived from sugarcane. It mimics the skin's natural moisture, helping to hydrate without a heavy or greasy feel.
For skin that feels dry, dehydrated, or mature, reach for the Plum Botanical Serum. This silky, luxurious face oil provides deep nourishment and helps the skin look smoother and more luminous.

It features a blend of supportive ingredients:
- Prunus Domestica (Plum) Seed Oil: This cold-pressed oil from French plums is rich in nutrients. It gives the serum a beautiful, cushiony texture and helps support a radiant complexion.
- Squalane: This versatile emollient also stars in the Plum Botanical Serum, providing weightless moisture and a silky finish.
To apply, warm 4–6 drops of your chosen oil between your palms. Gently press it onto your face and neck. Your skin is now ready for massage.
Your Step-by-Step Gua Sha Facial Massage: A Pro Tutorial
Hold your gua sha tool at a 15- to 45-degree angle to the skin. You want it to be almost flat. Use your free hand to gently anchor your skin. This prevents pulling and makes the strokes more effective.
The pressure should be light to medium—firm but always gentle. Let the weight of the tool do the work. Repeat each stroke 3–5 times on each side of the face. Always move in an upward and outward direction.
1. The Neck
Start at the neck to create a clear path. Place the long edge of the tool at the top of your collarbone. Gently glide it up toward your jawline. This helps release tension in the neck.
2. The Jawline & Chin
Use the grooved or notched edge of your tool. Start at the center of your chin. Sweep the tool along your jawline, moving up toward your earlobe. This motion can help you create a more defined jawline with your gua sha technique. At the end of the stroke, give the tool a gentle wiggle to release tension.
3. The Cheeks
Switch to the long, curved side of your tool. Place it next to your nose, on top of your cheekbone. Gently sweep outward, across your cheek, toward your hairline. This helps lift the look of the face and can give a gentle, sculpted appearance.
4. The Under-Eyes
This area is very delicate, so use extremely light pressure. Use a smaller corner or curved edge of your tool. Start at the inner corner of your under-eye area. Glide very gently outward toward your temple. Be careful not to pull the skin. The pressure here should feel as light as a feather.
5. The Forehead
Use the long, flat edge of the tool again. Start in the middle of your forehead, just above your eyebrows. Sweep upward toward your hairline. Then, move to the side of your forehead and sweep outward toward your temple. This can help smooth the appearance of the forehead and ease tension.
Post-Gua Sha Care: How to Lock in Your Results
Your gua sha ritual doesn't end with the last stroke. A few simple post-care steps will help you lock in the benefits and keep your tools in pristine condition.
First, clean your gua sha tool. Wash it with warm water and a gentle soap after every use. The Biome Balancing Creamy Cleanser is also excellent for this. Dry it completely with a soft cloth before storing it in a safe place, like a pouch or its original box, to prevent chips or cracks.
Next, tend to your skin. The facial massage has prepared your skin to receive the next steps of your routine. The oil you used has already provided deep nourishment. Now is the perfect time to apply a hydrating essence, a targeted serum, or a moisturizer.
This final step helps seal in all the hydration and active ingredients. The enhanced circulation from the massage can help your skin better absorb these products, allowing you to unlock your skin's natural radiance. Your skin will feel supple, hydrated, and look exceptionally dewy.
Common Gua Sha Mistakes to Avoid (And Pro-Tips to Remember)
To get the most from your practice, it helps to know what to avoid. Here are a few common mistakes and expert tips to ensure your experience is both safe and effective.
Mistake 1: Using Too Much Pressure It’s easy to think that more pressure equals better results. However, gua sha is primarily about supporting lymphatic flow, which sits just below the skin's surface. Pushing too hard can cause discomfort.
- Pro-Tip: Let the tool do the work. Use light to medium pressure that feels soothing, not forceful. The only area that can handle slightly firmer pressure is the jawline.
Mistake 2: Using the Tool at a 90-Degree Angle Holding the tool perpendicular to your skin (at a 90-degree angle) can scrape or pull the skin. This can lead to surface redness and defeats the purpose of the gentle massage.
- Pro-Tip: Keep the tool as flat against your skin as possible, ideally between a 15- and 45-degree angle. This ensures a smooth, effective glide that works with the contours of your face.
Mistake 3: Performing Gua Sha Over Active Breakouts or Irritated Skin Never use a gua sha tool over active pimples, open sores, or areas of significant irritation like sunburn. Massaging these areas can make the situation worse.
- Pro-Tip: Wait for blemishes and irritation to calm down before performing gua sha on that specific area. You can still massage other parts of your face, carefully avoiding the sensitive spots. If you have a specific skin condition, always check with a licensed professional first.
Final Pro-Tip: Consistency is Key While you may see a temporary reduction in puffiness after just one session, the most visible and lasting results come from consistency.
- Pro-Tip: Aim to incorporate gua sha into your routine 3 to 4 times a week. A consistent practice helps support a more sculpted, radiant-looking complexion over time.